| Model | Scale | Peak Indicator Needle | Indentor | Material | Standard | Measuring Force |
| E2-A | Shore A | Flat point | Normal rubber | ASTM D2240, ISO 868, 7619 | 1 kgf | |
| E2P-A | Shore A | √ | Flat point | Normal rubber | ASTM D2240, ISO 868, 7619 | 1 kgf |
| E2P-B | Shore B | √ | Cone point | Semi rigid rubber & plastics | ASTM D-2240 | 1 kgf |
| E2P-C | Shore C | √ | Truncated Cone | Medium hard rubber & plastics | ASTM D-2240 | 5 kgf |
| E2-AC | Asker C | Hemispherical | Soft rubber | JIS K-7312 | 1 kgf | |
| E2PA-C | Asker C | √ | Hemispherical | Soft rubber | JIS K-7312 | 1 kgf |
| E2-D | Shore D | Cone point | Hard rubber & plastic | ASTM D-2240 | 5 kgf | |
| E2P-D | Shore D | √ | Cone point | Hard rubber & plastic | ASTM D2240, ISO 868, 7619 | 5 kgf |
| E2P-DO | Shore DO | √ | Hemispherical | Dense textile windings | ASTM D-2240 | 5 kgf |
| E2-E | Shore E | Hemispherical | Soft rubber | ASTM D-2240 | 1 kgf | |
| E2P-E | Shore E | √ | Hemispherical | Soft rubber | ASTM D-2240 | 1 kgf |
| E2P-O | Shore O | √ | Hemispherical | Very soft rubber, foam, gel | ASTM D-2240 | 1 kgf |
E2 Durometer / Hardness Tester
E2-A – Shore A – Normal Rubber
E2P-B – Shore B – Semi Rigid Rubber & Plastics
E2P-C – Shore C – Medium Hard Rubber & Plastics
E2-AC – Asker C – Soft Rubber & Sponge
E2-D – Shore D – Hard Rubber & Plastics
E2P-DO – Shore DO – Dense Textile Windings
E2-E – Shore E – Soft Rubber & Sponge
E2P-O – Shore O – Very Soft Rubber, Foam, Gel
Standard Features
- Best value pricing
- Environmentally friendly magnesium alloy housing
- Calibration cert traceable to NIST included
- Optional ISO-17025 calibration available
E2 durometers now feature an environmentally friendly magnesium alloy housing and best value pricing. E2 durometers are quick and easy to operate with a high degree of repeatability. Optional peak indicators are available on each model.
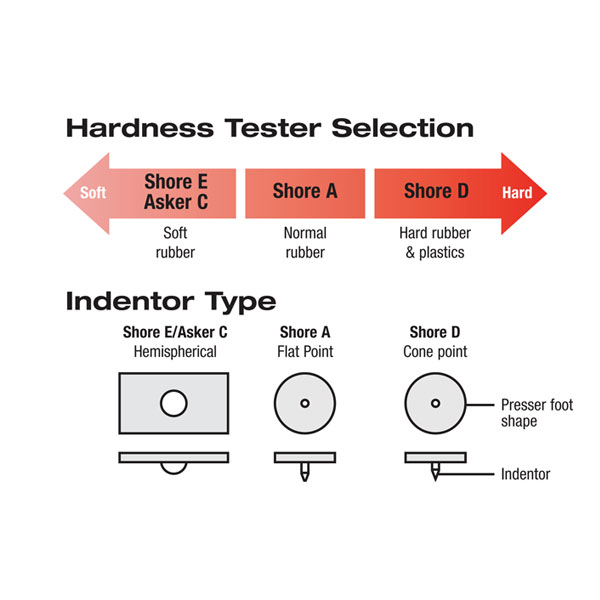
Hardness is an essential characteristic of rubber, elastomers and plastic products. Select the optimum durometer type based upon material hardness. E2 models are available in Durometer Scales: Shore A, B, C, D, DO, E, O and Asker C Hardness.
Operation
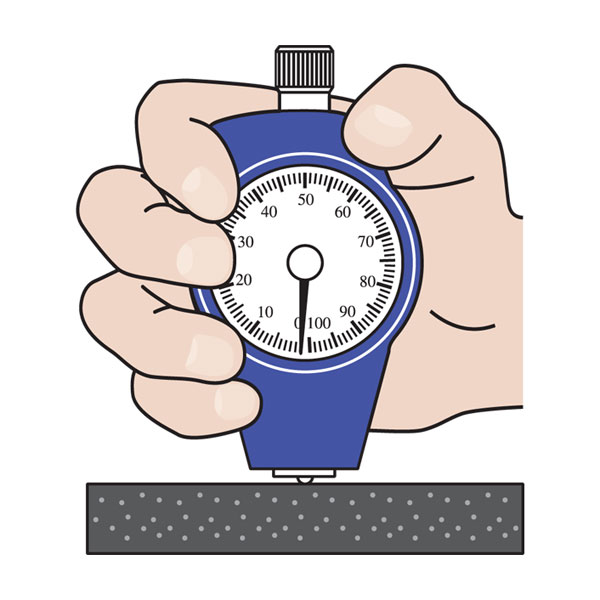
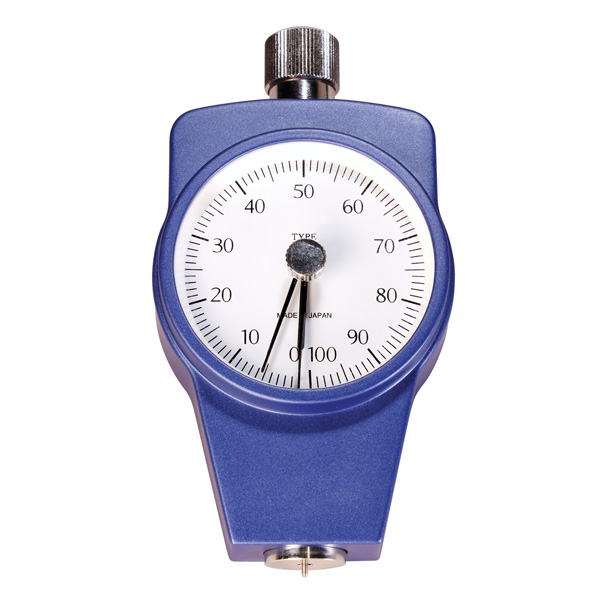
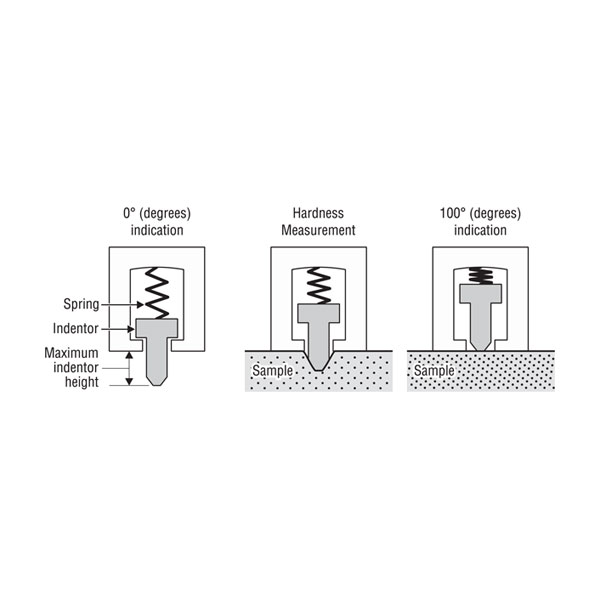
As the durometer is pressed against the sample, the material resistance force and indentor spring load balance. The depth of the indentor is measured, which provides a measure of the material’s hardness. Values are based upon a 100 point scale (accuracy ±1 point). However, as time elapses the indicator will “creep” back so that a reading taken a few seconds after the indentor makes contact with the sample will be less than the peak reading. Asker durometers offer a peak indicator as an option to more closely monitor the difference between peak and “creep”.
What’s Included with the Durometer?
E2 durometers are sold as kits. All new durometer purchases include: durometer, hard plastic carrying case and 3-Point Calibration certificate traceable to NIST.
*Add P to the model number to specify optional peak indicator, for example E2P-A.


